CanEasy can be used directly
Only a few steps are necessary
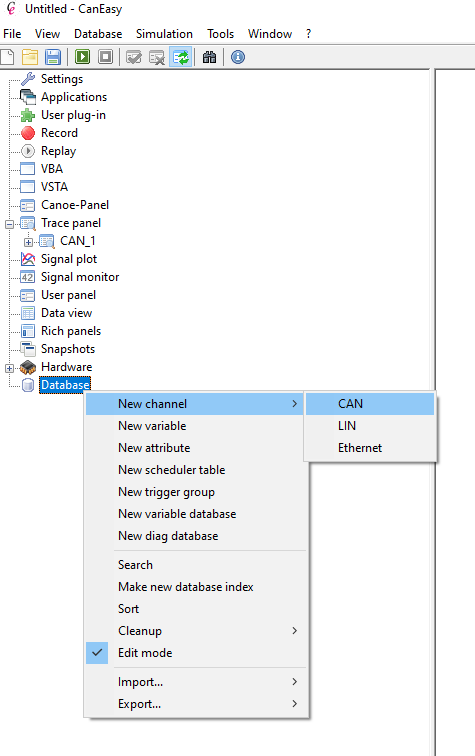
➢Create a database channel
➢Connect your bus adapter
➢Start the simulation
Create a channel
|
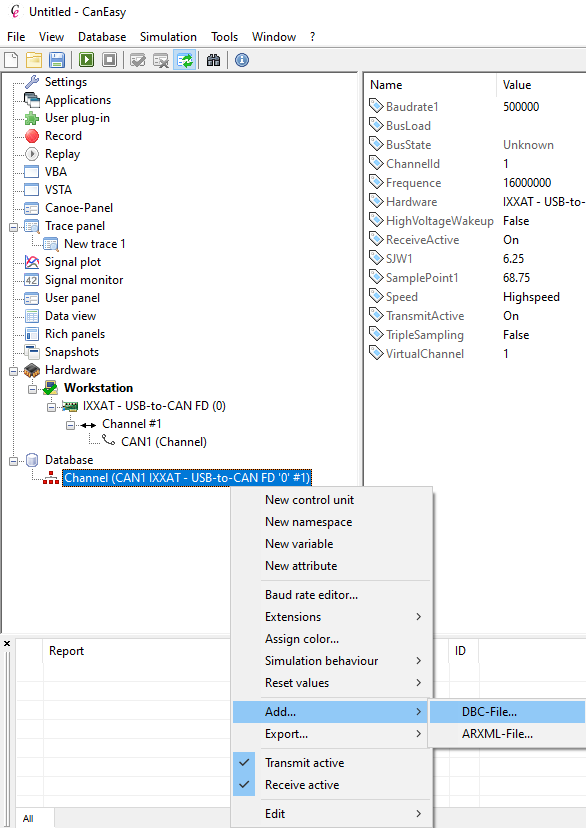
You can create a new channel via the database context menu Or directly import your communication matrix
|
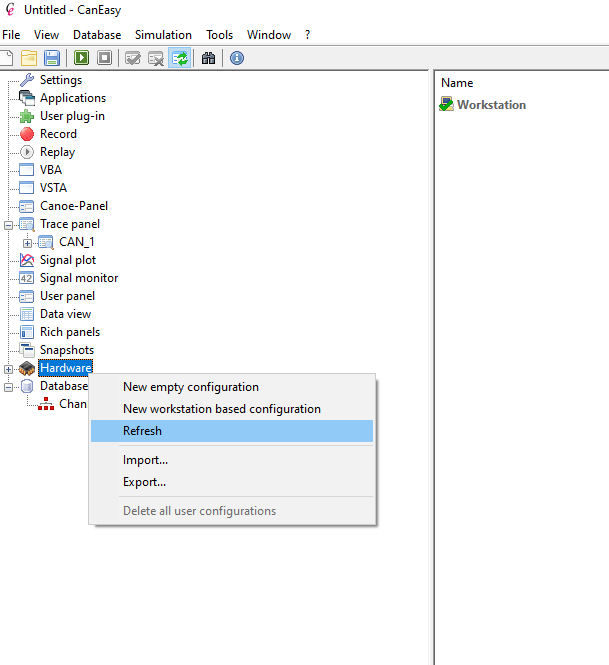
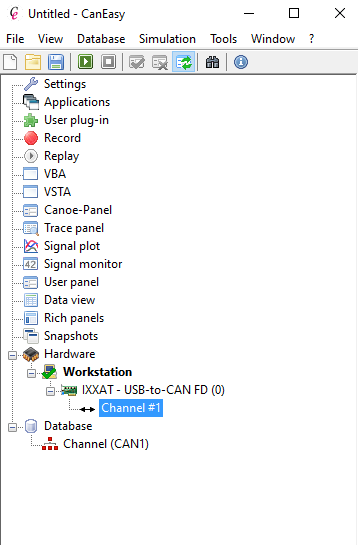
Connect bus adapter
|
Let CanEasy detect all connected bus adapters via the context menu of the hardware entry Hardware → Refresh |
|
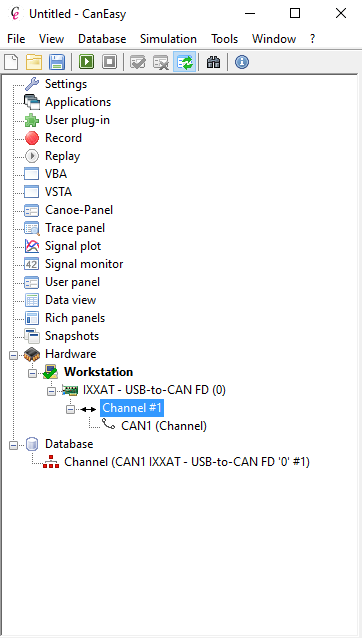
Connect the database channel via Drag & Drop with the hardware channel |
Start simulation
|
Start the simulation to initialize your bus adapter
After simulation start CAN frames can be sent and received |
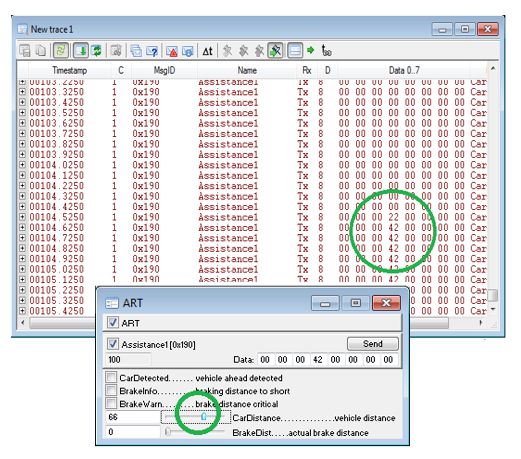
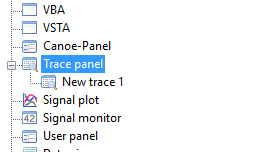
Create Trace panel
|
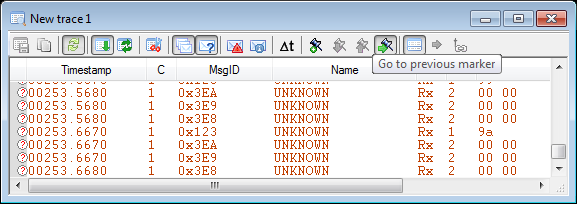
Create a new trace via the context menu of the “Trace panel” Using a trace you can see whether messages are sent or received on the bus To see unknown messages you need to activate this in the toolbar |
|
|

Import communication matrix
|
To get the interpretation of the received message simply import the communication matrix into the database channel
Select |
Open CanPanel
|
Start simulation
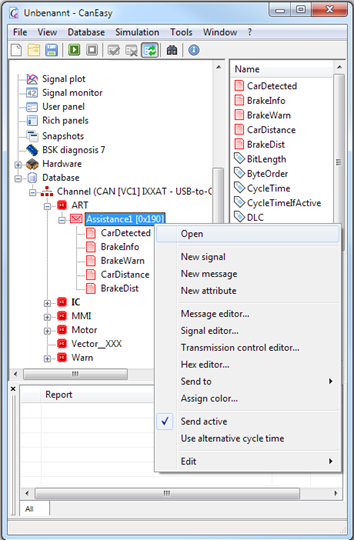
To change signal values, you can open CanPanels with a double click or via the context menu
CanPanels can be opened for a complete ECU or single messages |
Change signals
|
When changing the signal value in the CanPanel, you can see the change in the trace panel |